Fermentation:
how to make tempeh
Quick and easy version
One cup of split soybeans (250g) will give you 400g of tempeh that will fit into 4 petri dishes and can therefore be incubated in the Domingo Fermenter.
- Soak the beans overnight
- Rinse the beans in fresh water
- Cook the soybeans for 75 min
- Dry the beans well
- Place the beans in a mixing bowl
- Add a tablespoon of vinegar and mix well
- Sprinkle with a teaspoon of rice flour and mix well
- Add 1/8 teaspoon (0.4 g) tempeh starter and mix well
- Put into moulds (petri dishes)
- Leave to ferment at 30°C for 36 to 48 hours
For more information, read the complete guide below.
Complete guide
This guide is the fruit of several years of practice and an inspiring journey to Indonesia, the birthplace of tempeh, where we were lucky enough to meet and observe various tempeh makers and their traditional techniques.
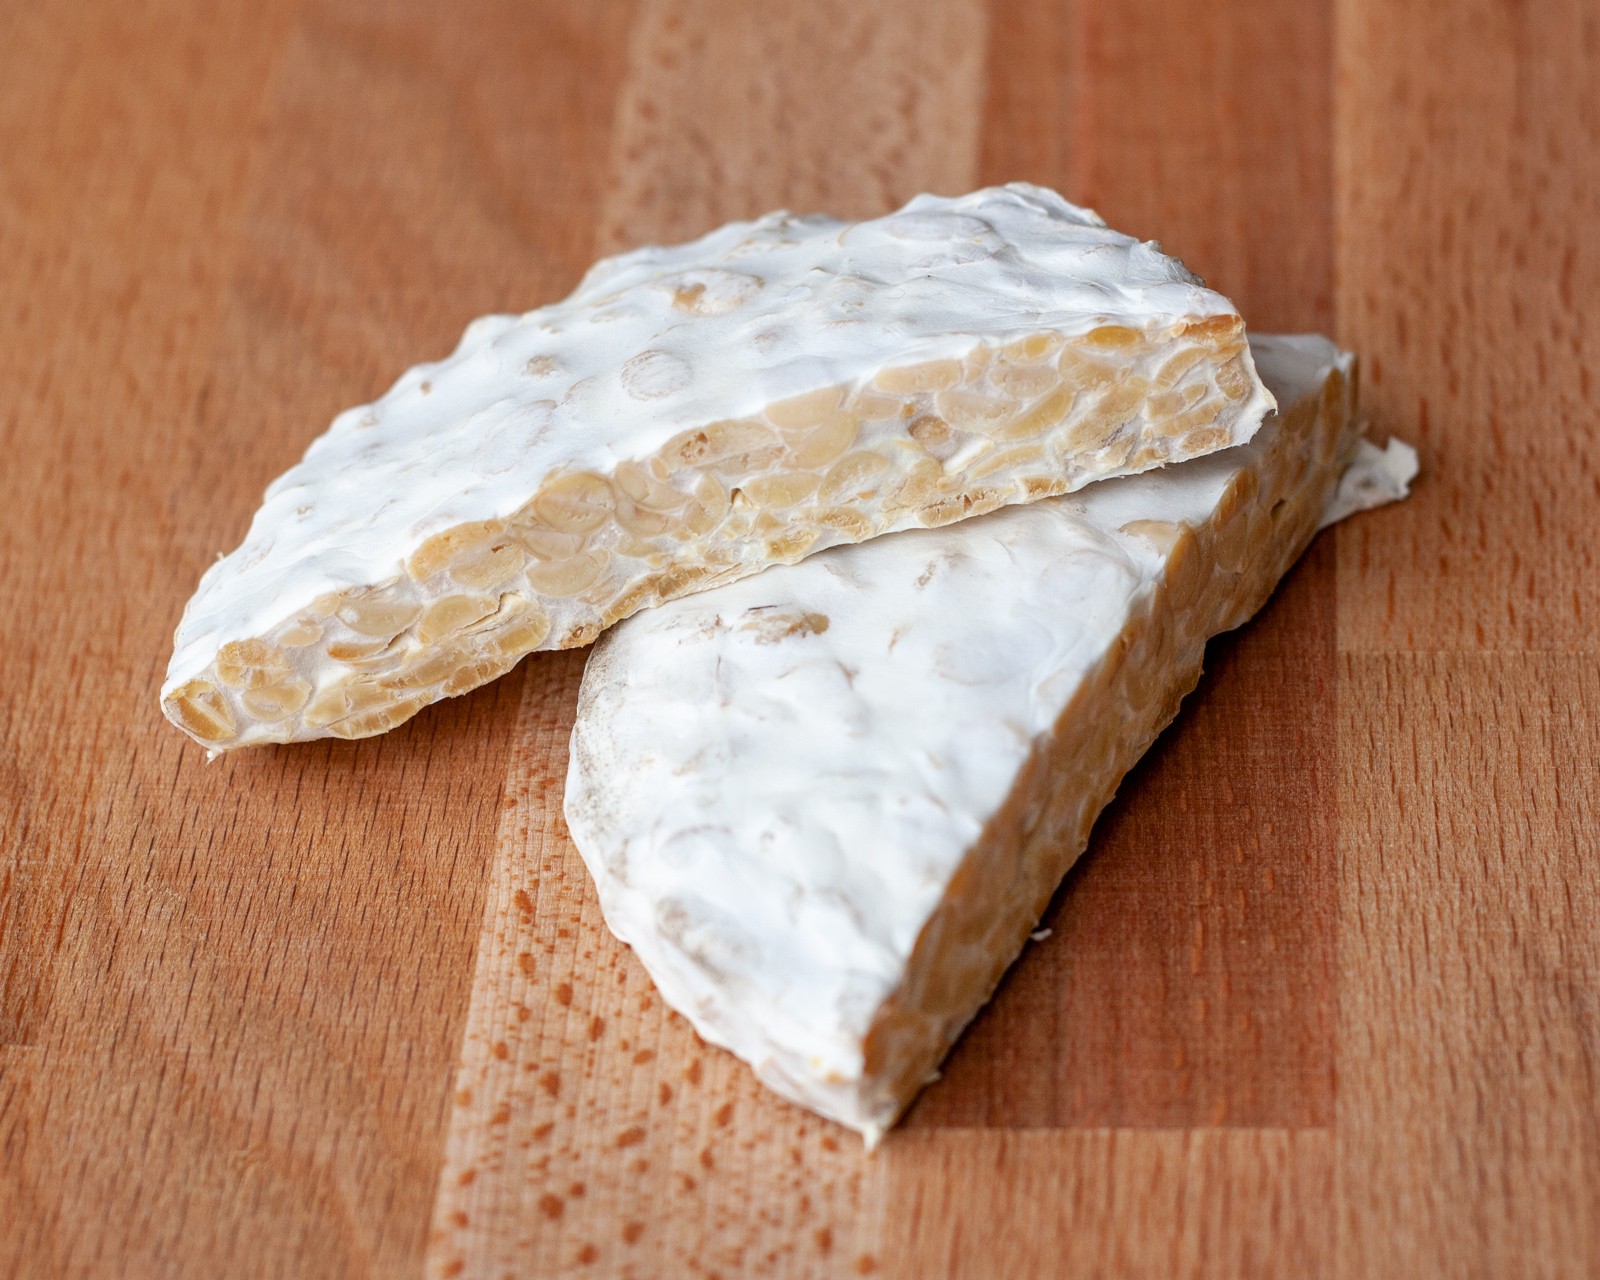
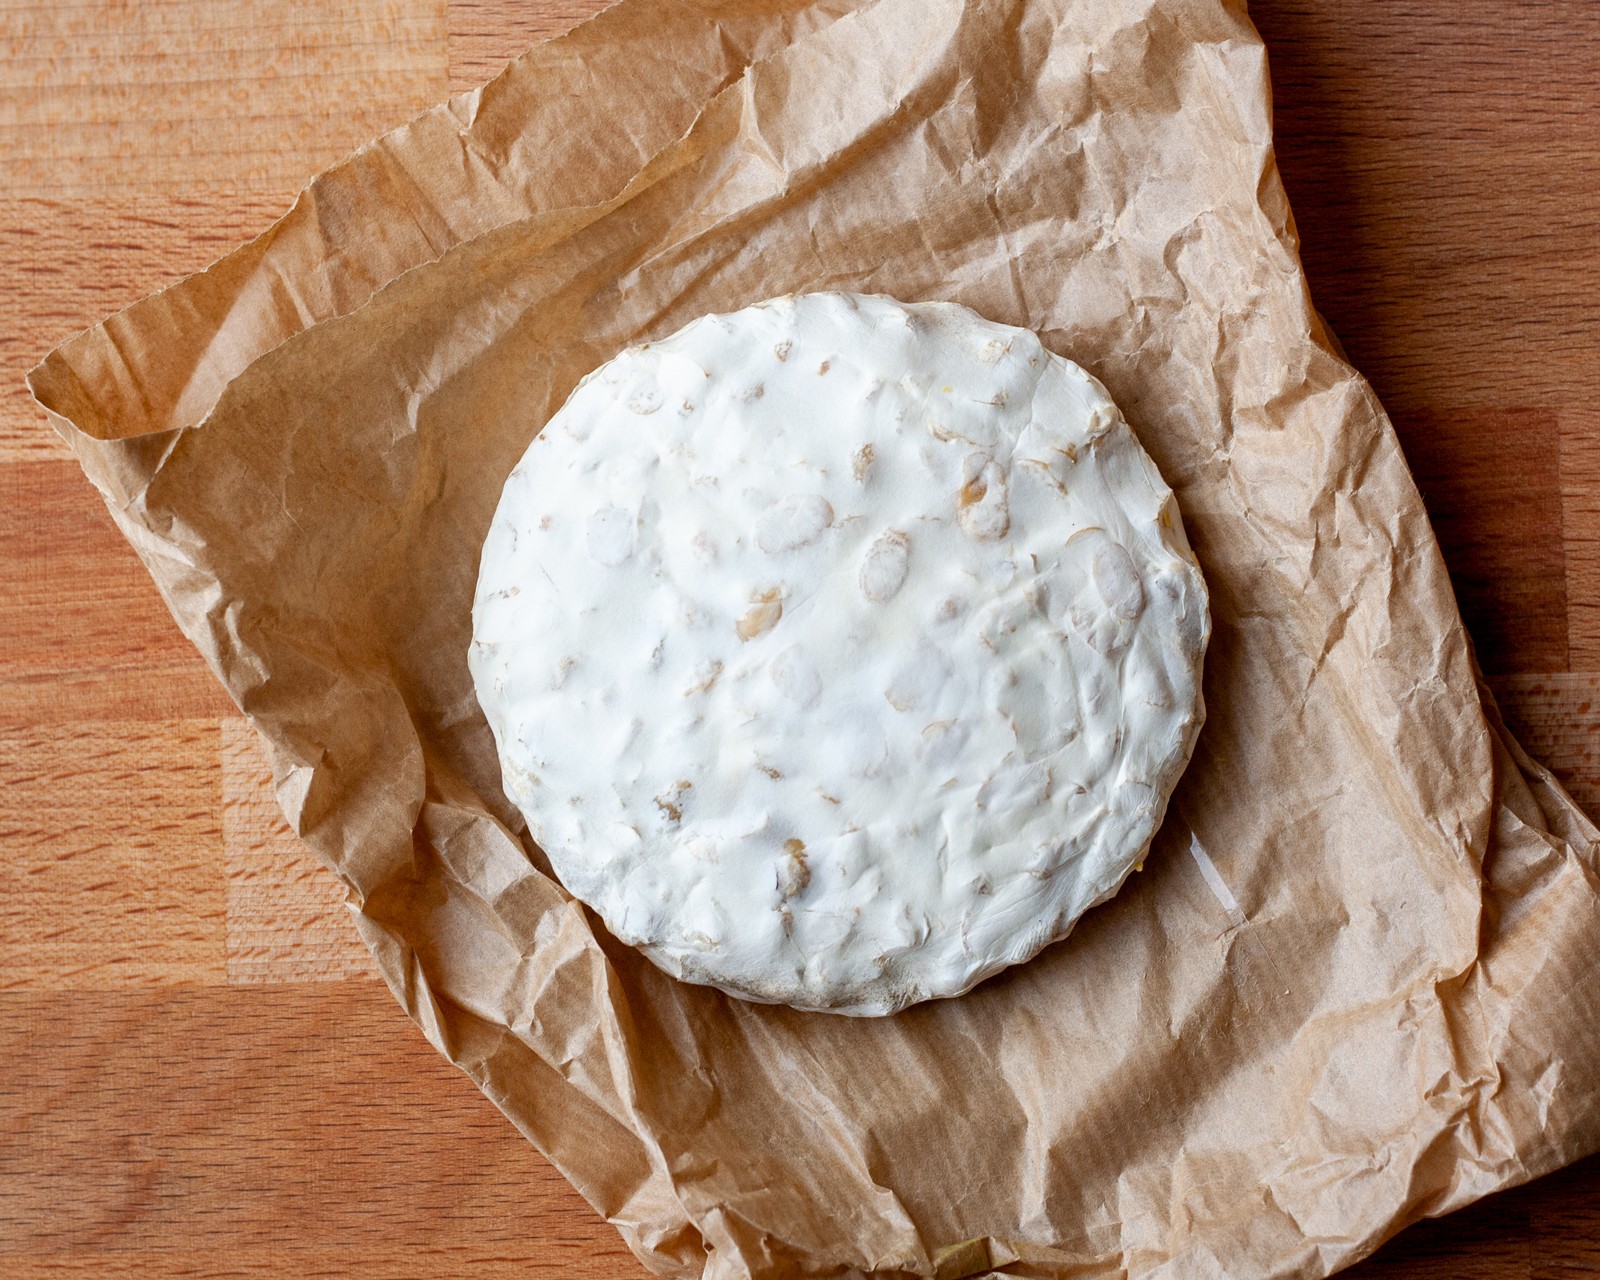
Tempeh fermentation is the process of food transformation by a specific fungus. Rhizopus oligosporus and oryzae are the two fungi capable of this fantastic fermentation. Their fast growing mycelium grows on grains or beans and transforms them into a compact, firm white block.
During the tempeh fermentation process, the mycelium predigests the proteins and other nutrients in the beans, making them more digestible for us humans. The resulting tempeh is a wonderful source of plant protein, fibre, vitamins and minerals. Tempeh is a nutritious, sustainable, affordable and delicious food. Tempeh is the result of a delicate inter-species collaboration.
Setup
It’s important that everything around you is clean: your utensils, your work surface and your hands. We don’t want bad bacteria contaminating our fermentation.
Ingredients
- Tempeh Starter (Rhizopus spores)
- Legumes (soy beans, black beans, lentils, …)
- Vinagre (Apple vinagre, kombucha vinagre, …)
- Rice flour
Equipment
- A fermenter (an environment of ±30°C)
- Container for soaking (mason jar)
- Cooking pot
- Sieve
- Kitchen towel
- Wooden spatula
- Moulds
Soaking
We recommend soaking your beans in clean water for 24 to 48 hours.
This will have several effects. First, it will create a lacto-fermentation and therefore increase the level of acidity around and in the heart of the beans. Second, it will reduce the cooking time, and therefore your energy consumption.
Increasing the level of acidity creates an ideal environment for the growth of rhizopus, the tempeh starter fungus. Plus, it makes a very tasty tempeh!
How to
Simply place the desired quantity of beans in a container and cover with clean water. The beans will absorb the water, so check from time to time that the water level is still above the beans to avoid contamination.
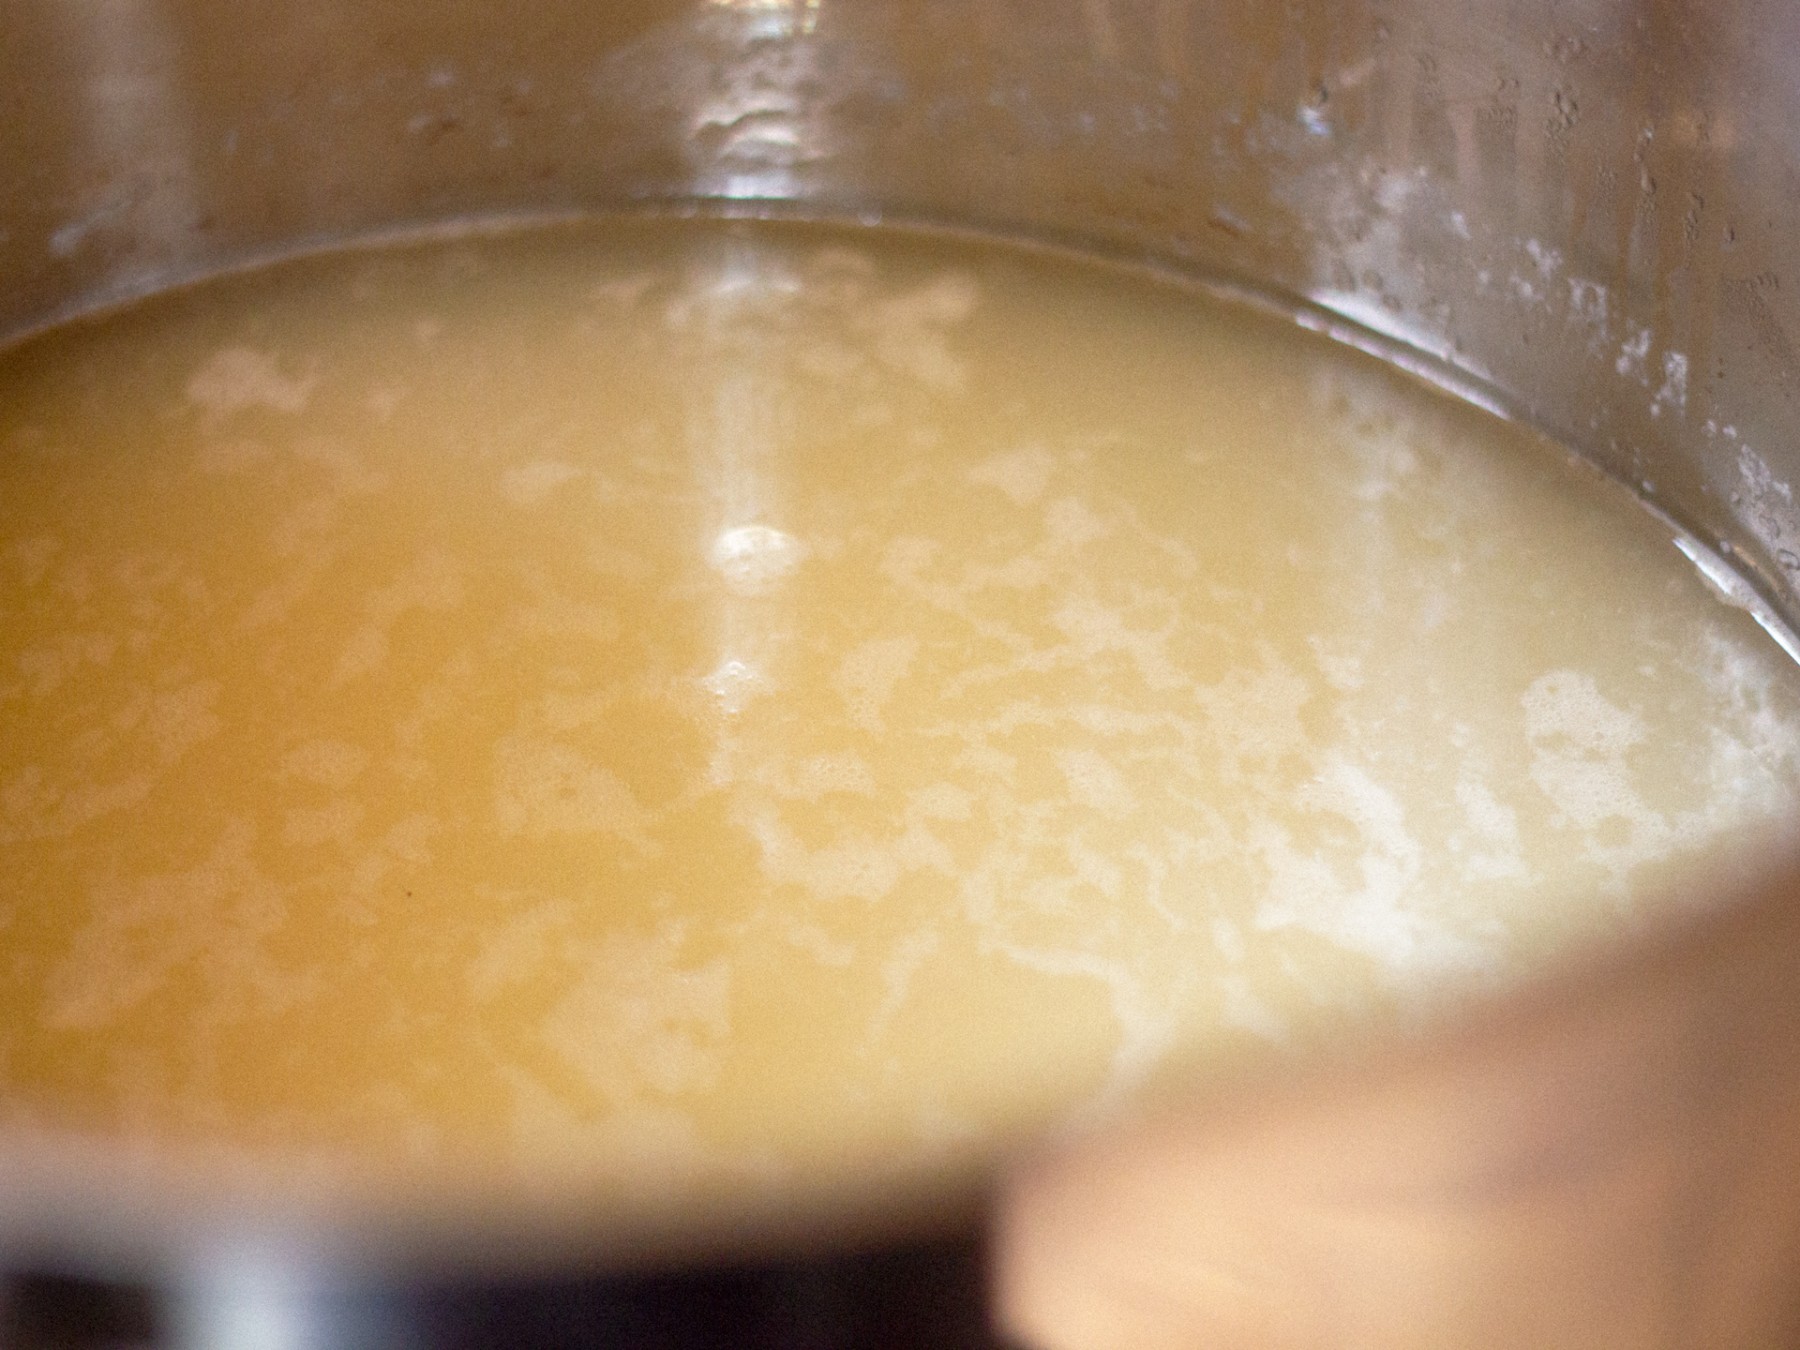
After 24 to 48 hours, the appearance of the water will change, and perhaps its smell too. This is a good sign that the fermentation has been successful.
Washing
Washing beans after soaking is a step not to be neglected. Soaking considerably increases acidity levels to a level we can’t control. It is therefore advisable to wash the beans well in order to reduce the external acidity, which we will control later using vinegar. Don’t worry, the level of acidity in the heart of the beans is maintained, and that’s what we’re interested in.
How to
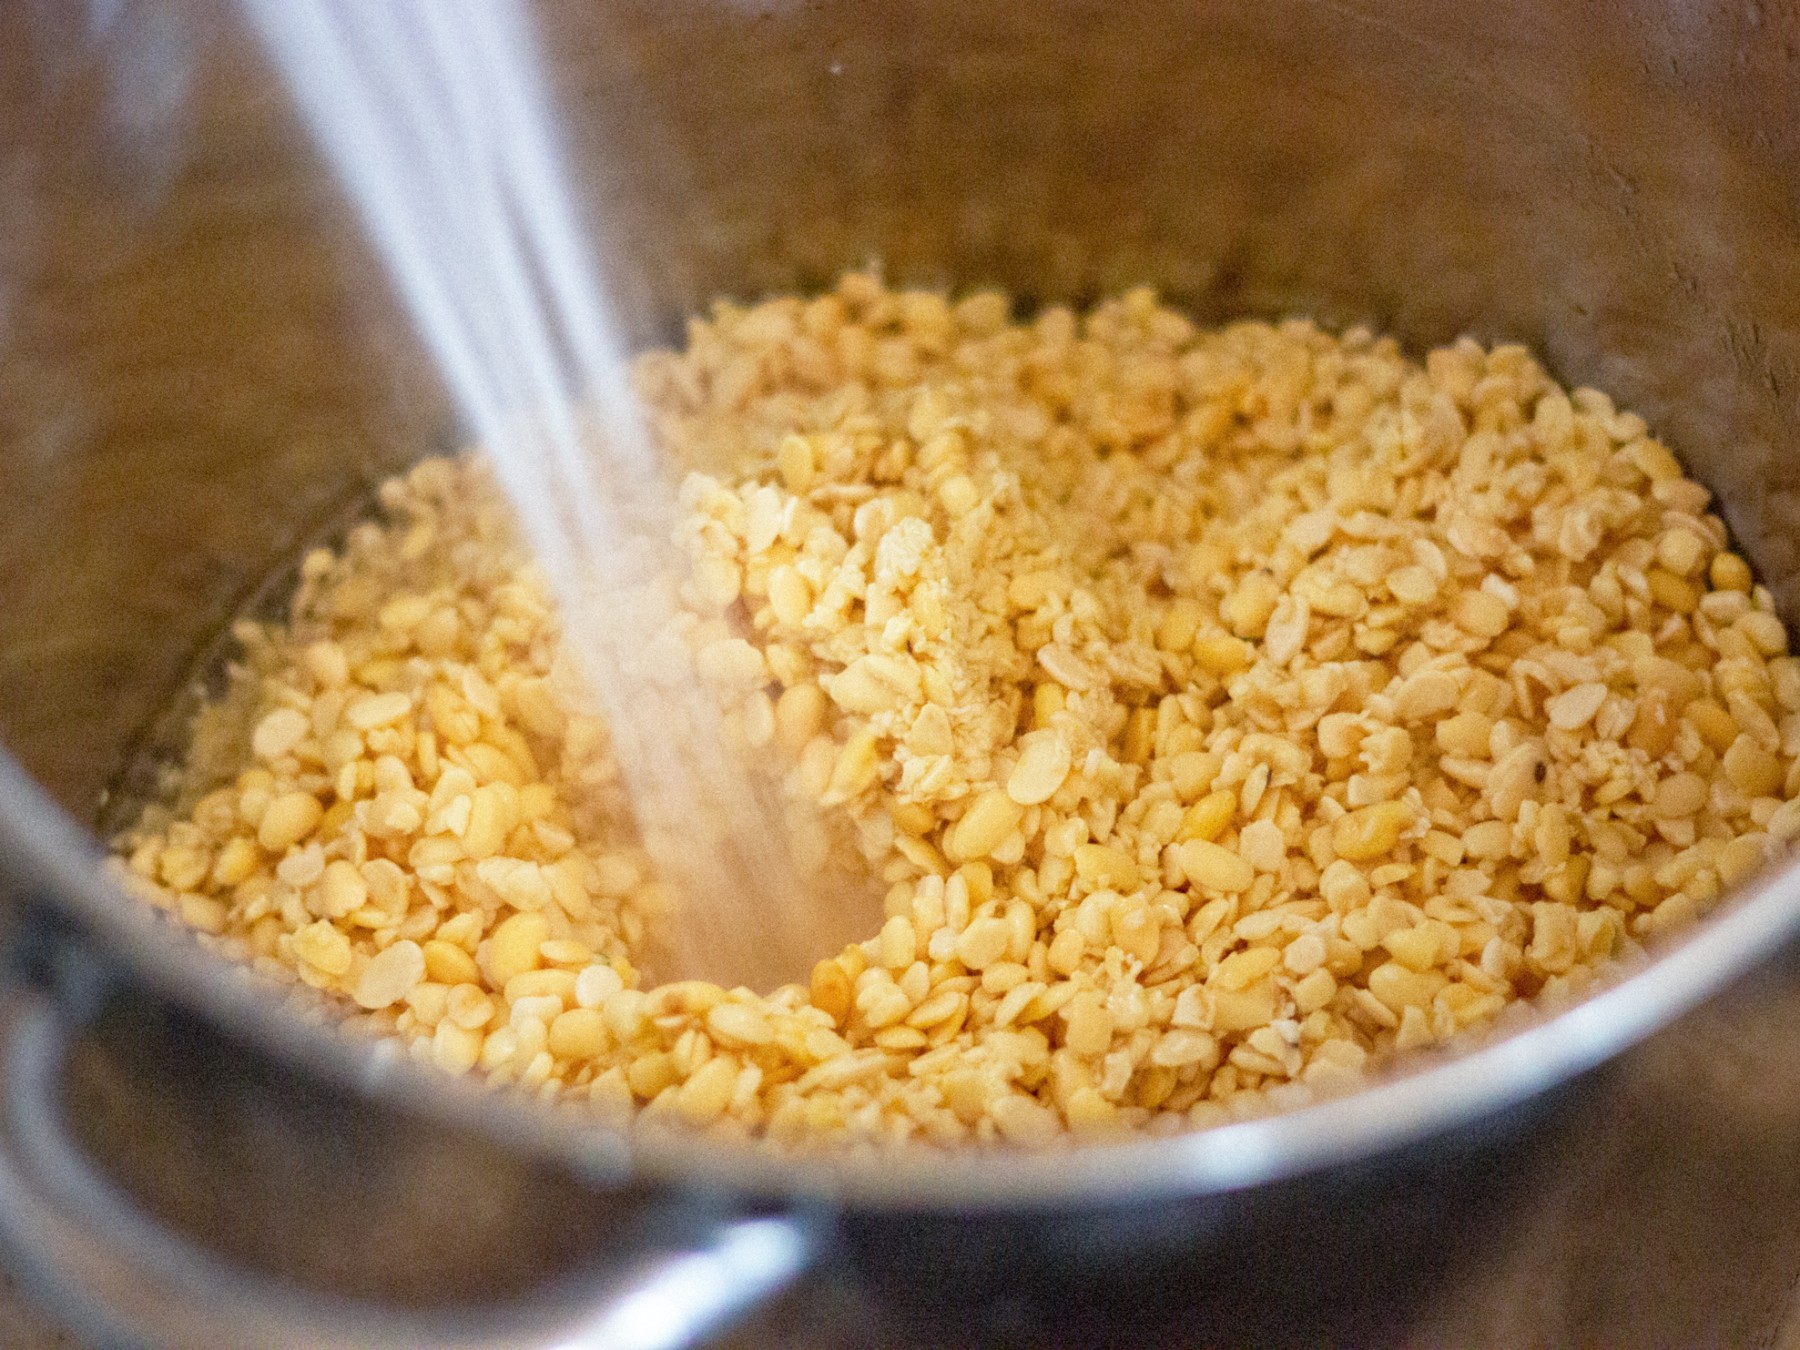
- Pour the water and beans into a colander to remove the water
- Pour the beans into a large bowl and fill with clean water
- Rub the beans firmly with your hands to wash them
- Repeat these steps 3 times (changing the water each time)
Cooking
Cooking time depends on the beans used. As a general rule, beans should be cooked until al dente. If they are cooked for too short a time, the mycelium will not have access to the nutrients and will not develop properly. If you cook them for too long, you’ll create too much humidity and the beans will crumble, leaving neither oxygen nor space for the mycelium to develop.
How to
- Bring the water to the boil
- Add the washed beans
- Add one tablespoon of vinegar per litre of water
The table shows the cooking times after the water has started to boil.
| Substrate | Cooking time |
|---|---|
| Soy beans | 75 min |
| Black beans | 20 min |
| Coral lentils* | 5min |
| Adzuki | 10min |
* No prior soaking
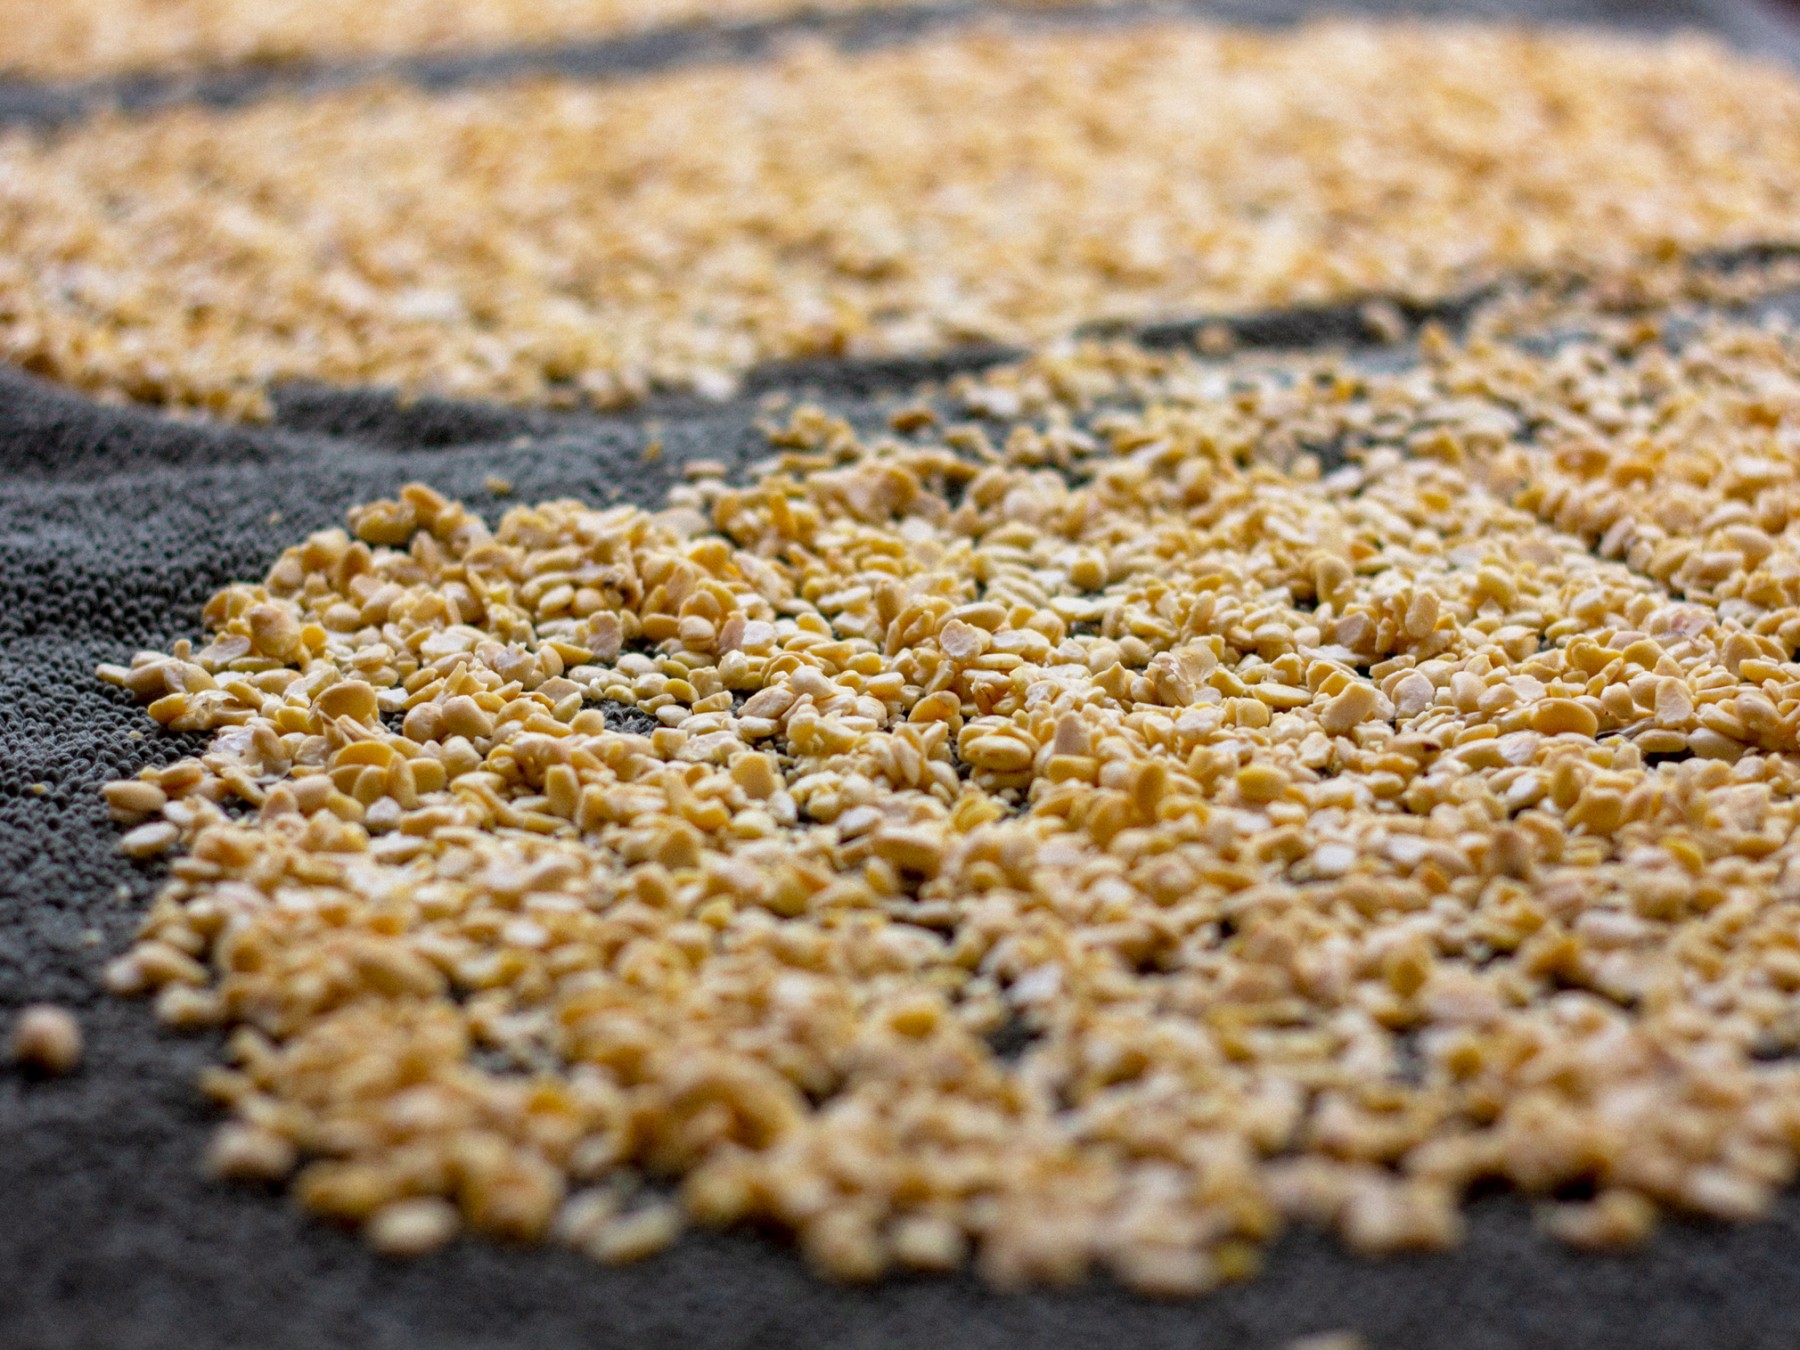
Drying
It’s important that the beans dry properly. An environment that is too damp will prevent the mycelium from developing and reduce the quality of your tempeh.
How to
When the beans are cooked and al dente, pour them into a colander and then onto a kitchen towel. Do not rinse, the environment is sterile from boiling and you want to keep it as it is. Spread the beans well and leave to dry for around 15 minutes.
Another method is to use a fan or hair dryer. Point the fan at the beans and stir while the fan blows air over the surface.
Crushing
Some beans have skin that is too thick for the mycelium to reach the nutrients. It is therefore advisable to gently crush some of the beans to give the mycelium access. This is the case for black beans and azuki beans, for example.
How to
Fold the towel on which the beans were drying and crush the beans firmly with your palms and fists. Repeat as many times as necessary so that 50% of the beans are slightly crushed.
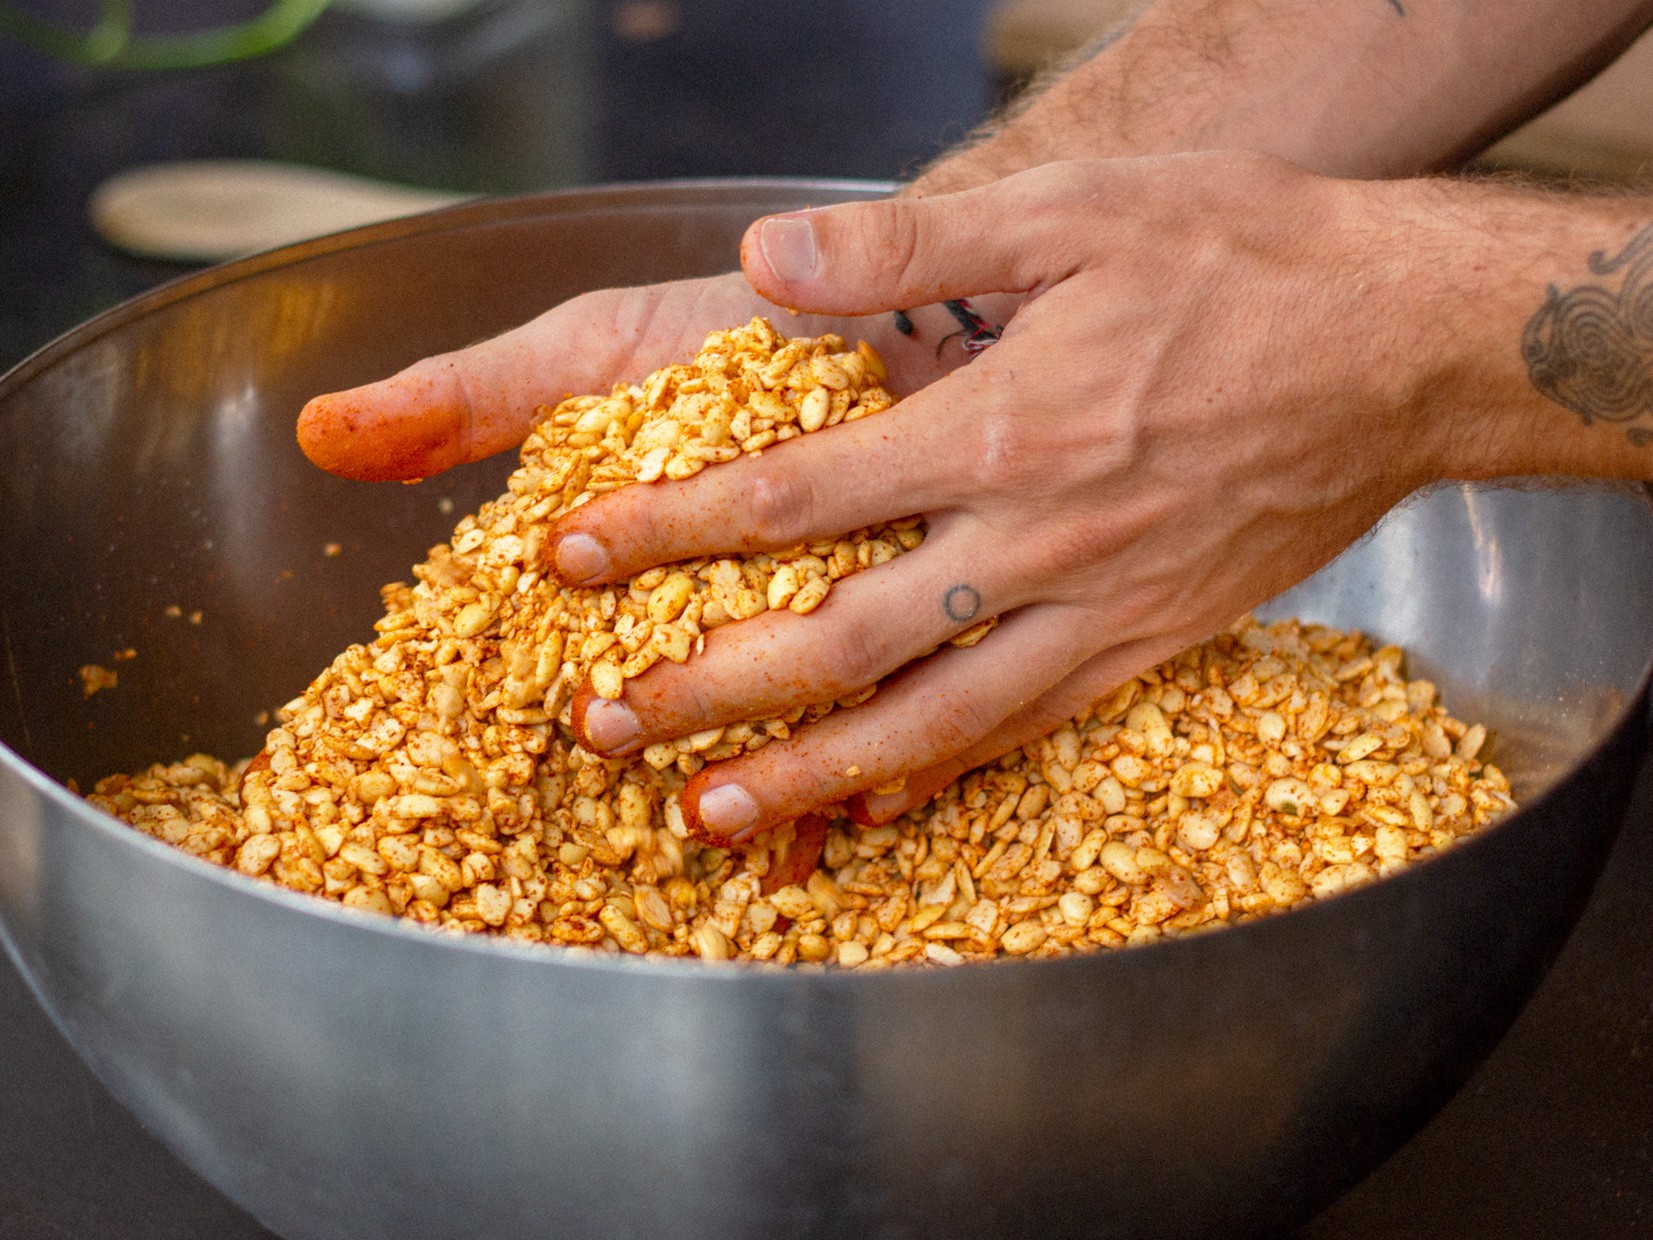
Innoculating
It is essential that your beans are no warmer than body temperature when you innoculate them, otherwise the heat can kill your starter. In general, the drying process is enough to cool the beans. Once the beans are sufficiently dry and cool, it’s time to add the tempeh starter.
how to
- Pour the beans into a large bowl
- Sprinkle with rice flour and mix well with your hands. This will change the texture of the beans and allow them to be mixed perfectly.
- Add the tempeh starter and mix well again with your hands. It’s important that the spores are on each of the beans so that the mycelial network develops easily. Give it love and energy.
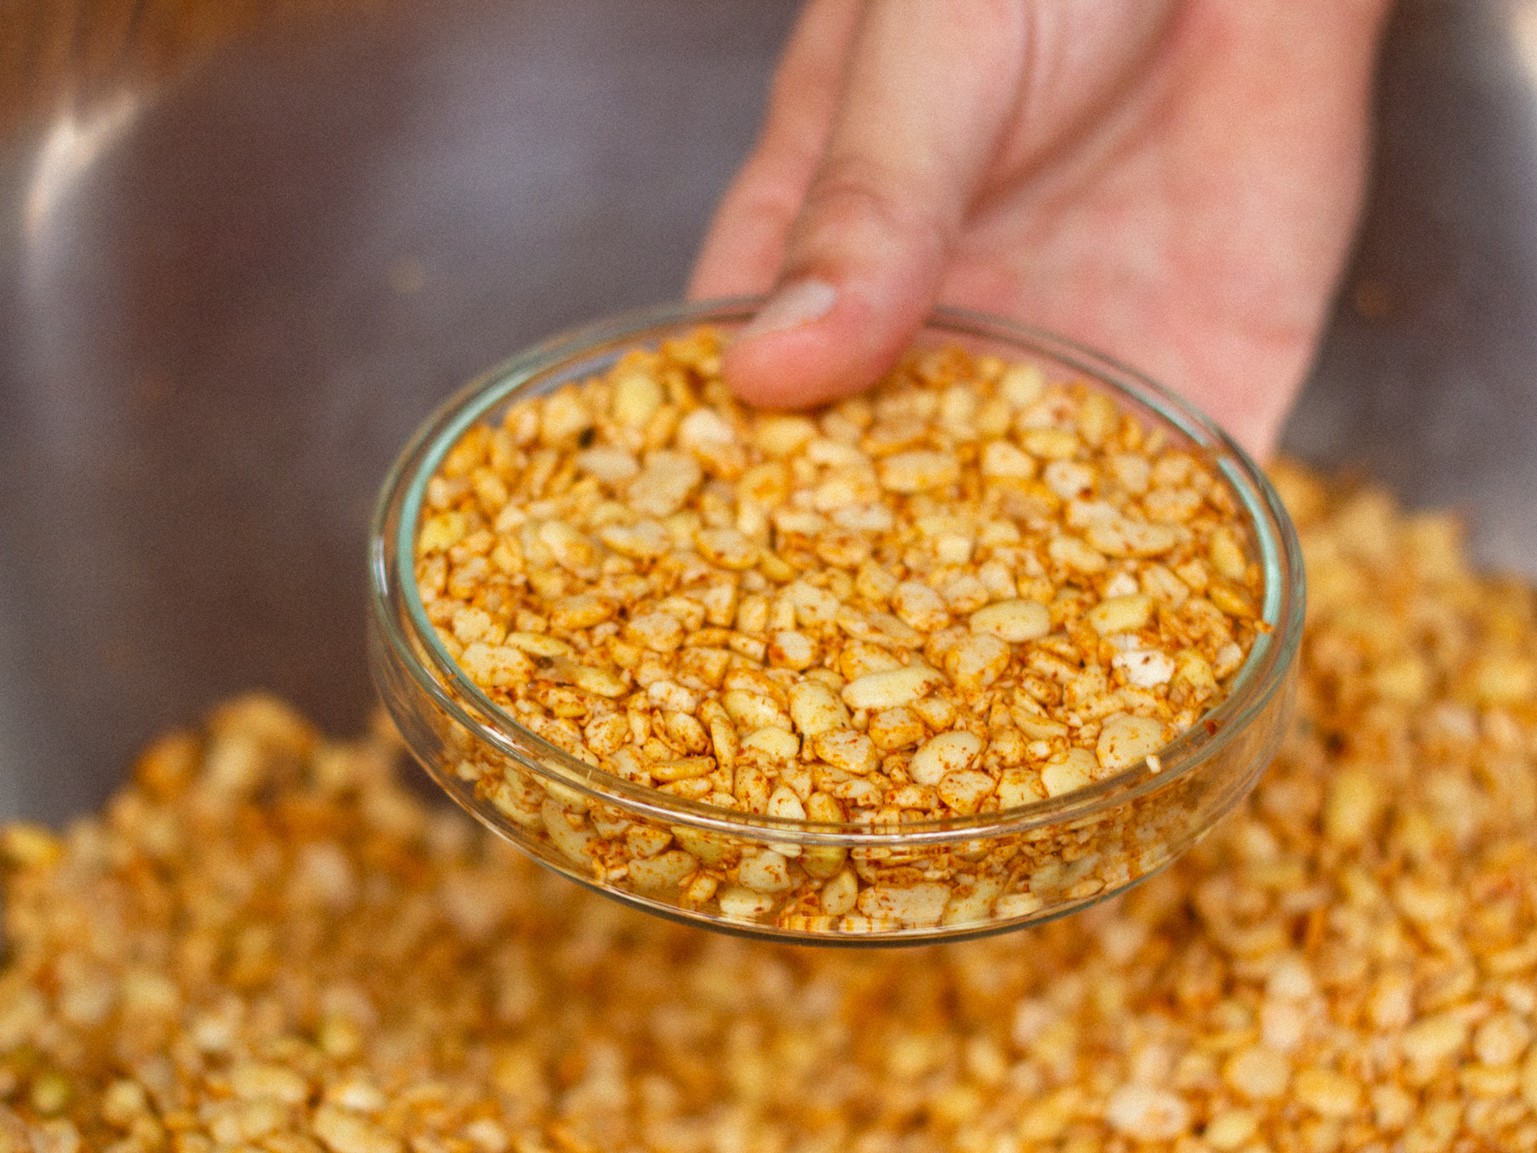
Molding
Now it’s time to shape your tempeh. The mycelium will act as a binder, forming a compact block of all the beans. The mould should hold the beans tightly together, but without crushing them. It should retain moisture and allow oxygen to pass through.
Our favourite moulds
- Large Petri dish
- 3D printed tempeh mould
- Perforated plastic bag
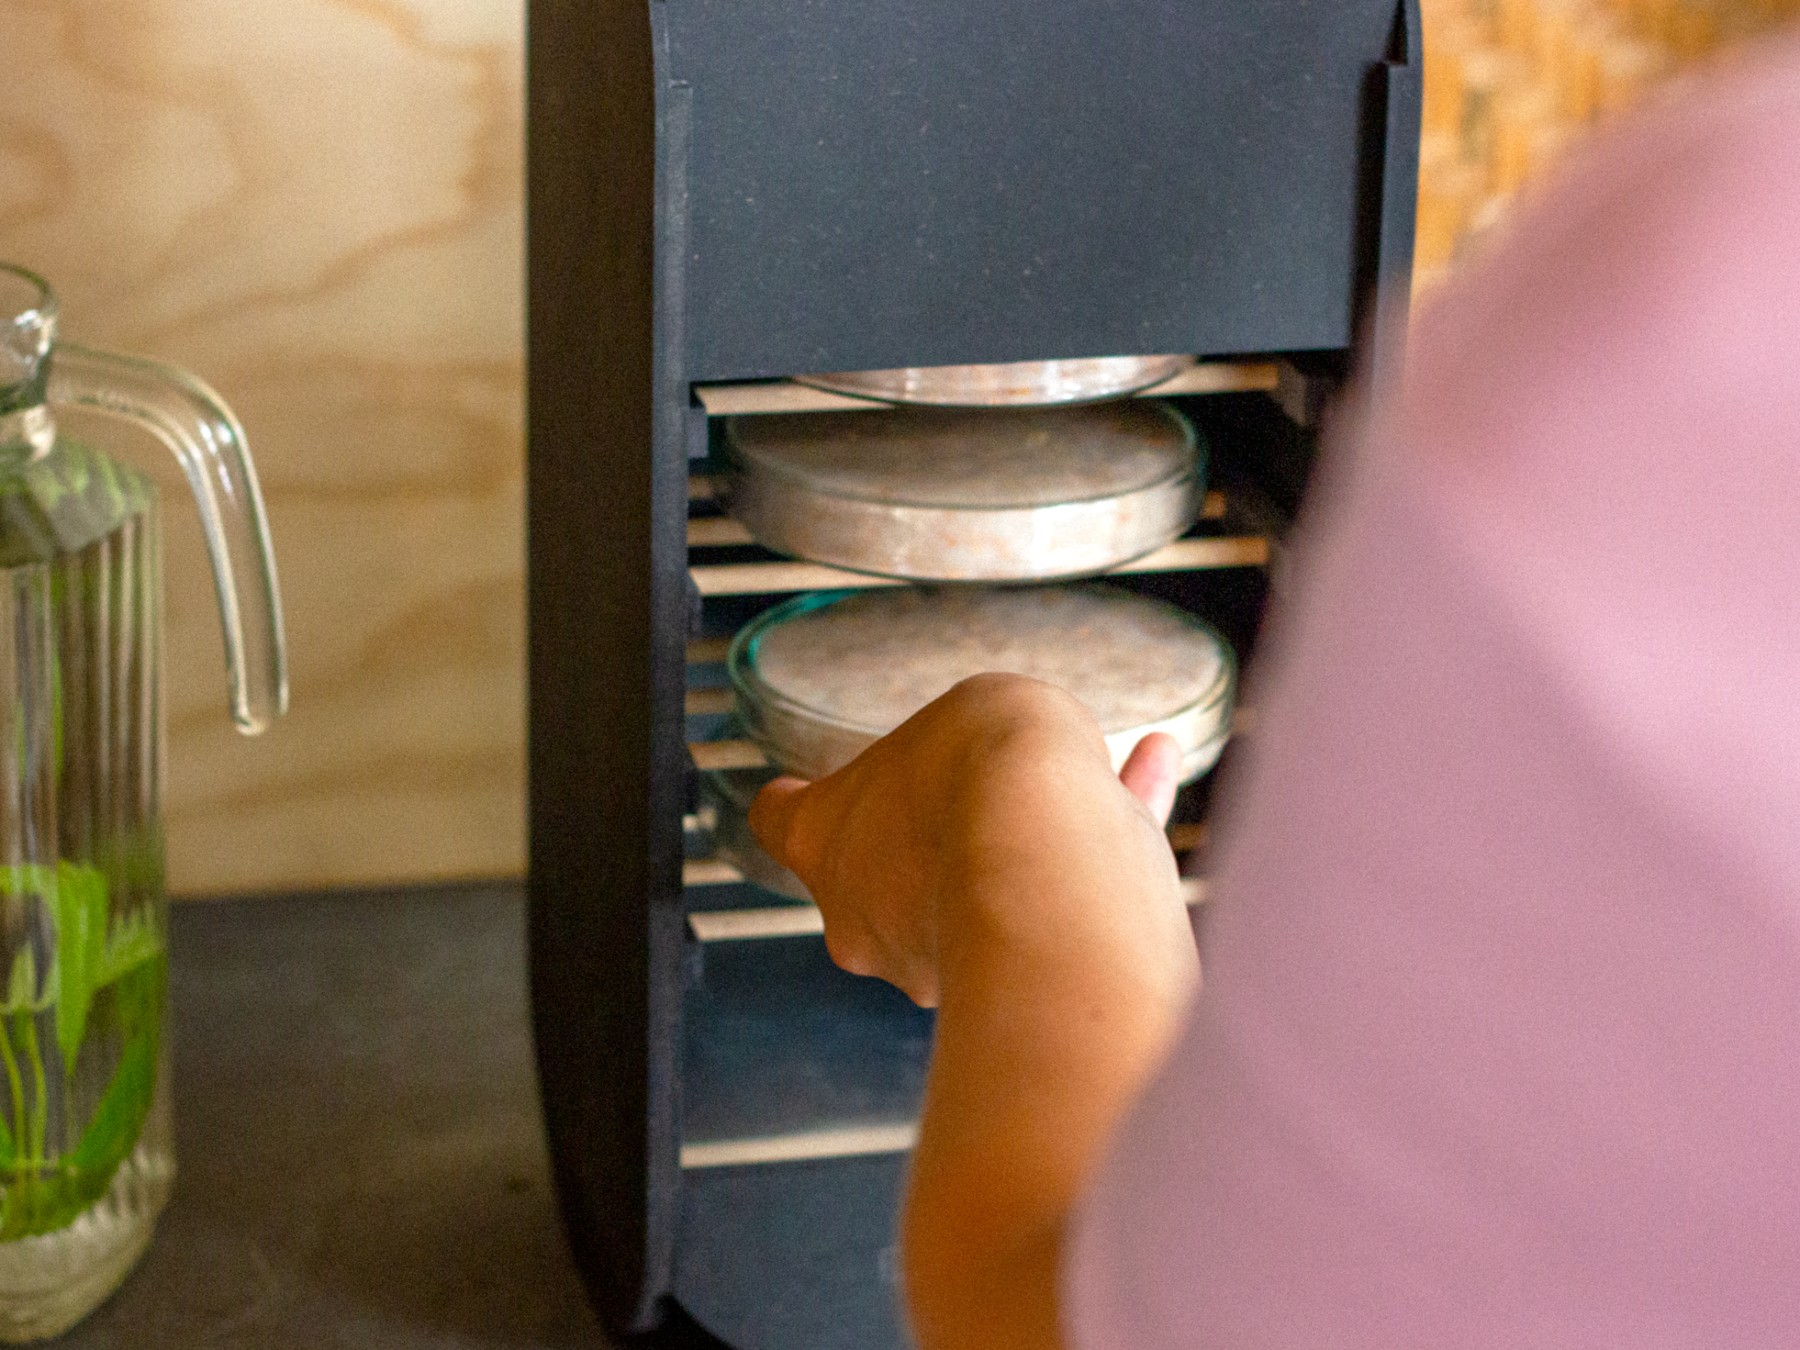
Incubating
The final stage, incubation. Mycelium develops best at a temperature of around 30°C. So it’s important to find a warm place that maintains the ideal temperature at all times. In fact, the mycelium tends to wither if it undergoes inadequate temperature changes.
It’s important to keep the temperature between 28 and 32°C. If the temperature is too hot, your mycelium will die and your food will rot. If it’s too low, your mycelium won’t grow fast enough and your food will rot.
The mycelium will show no signs of growth for the first 15 hours. At around 30 hours your tempeh will start to look ready, and you’ll be able to see it because the mycelium will have colonised all the beans. Around 48 hours, it will be perfect, if all the conditions have been met.
To do this, we developed a fermenter. An object that maintains the desired temperature for the growth of micro-organisms, such as mycelium. Take a look at the domestic fermenter and the kitchen lab version.
There are other ways of incubating your tempeh.
- Keep an incandescent lamp on in your oven
- Put your tempeh under a blanket
- Place your tempeh on your wifi router (it works!)
And voilà
We hope this guide has enabled you to ferment beautiful and delicious tempeh. And that the mycelium of the rhizopus no longer holds any secrets for you. Don’t hesitate to share your experiences with us, we’d love to hear from you and to see photos of your fermentations and dishes.